Girard systems has been a custom awning manufacturer for the rv and specialty vehicle industry since 1996.
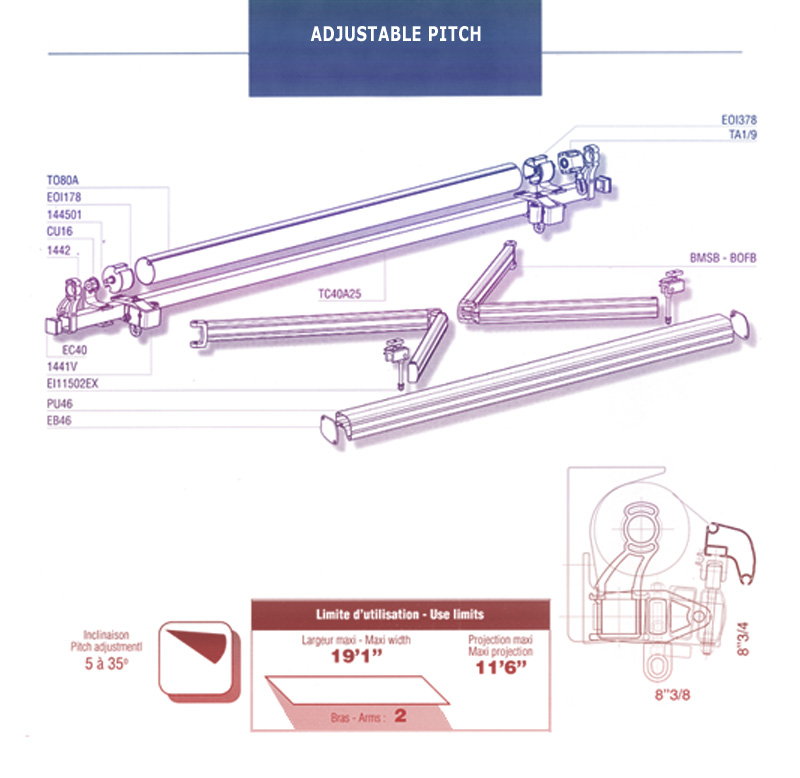
Patio awning arm adjustment.
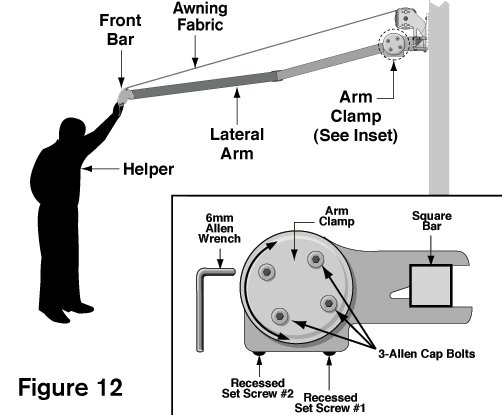
Fully unroll the awning and then slide the upper arm into position.
Sometimes you make an adjustment too far and you have to re adjust it back.
Our 20 years of industry experience has allowed us to be the first company in the rv industry to introduce motorized lateral arm awnings.
We use only the finest components materials from switzerland sweden belgium france germany spain usa to craft custom products for you.
Ask your helper to release the front bar check if the desired height has been reached and tighten the screws.
Adjust the height of the sunsetter awning.
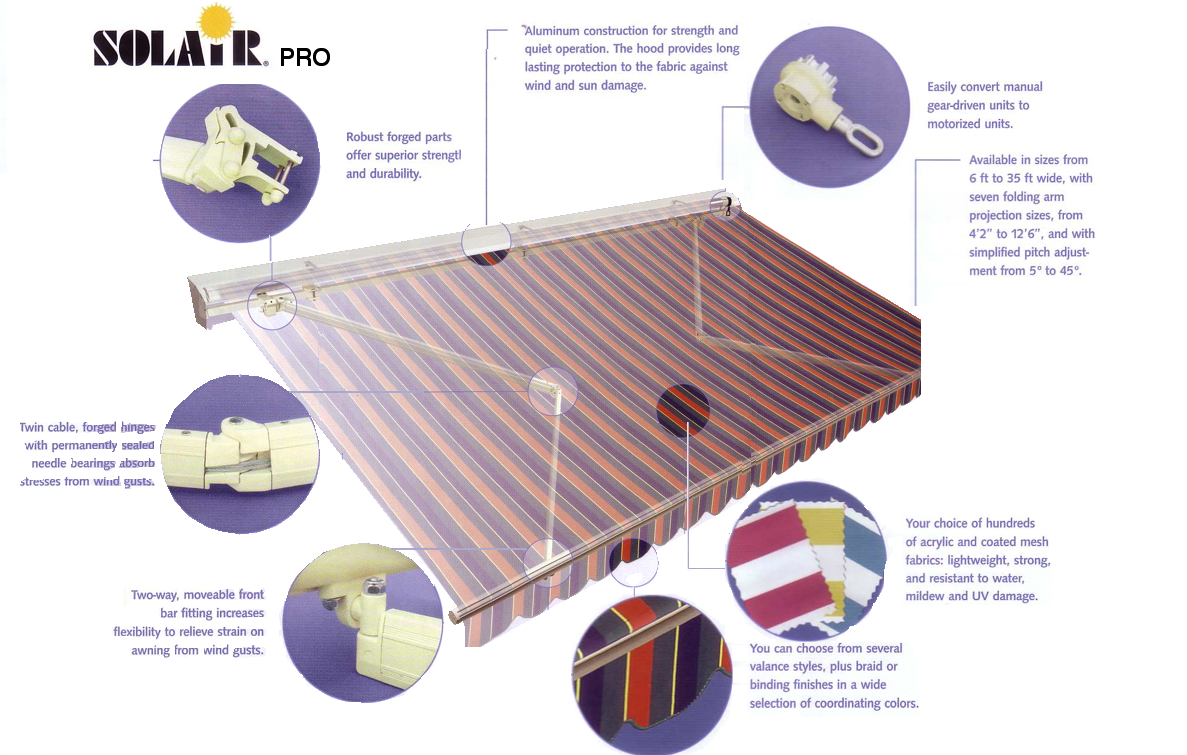
The elite cassette awning uses a two part aluminum enclosure that surrounds the roller tube and fabric keeping dirt and debris out of the system.
Quality built in the usa.
The shoulder tilting mechanism utilizes a unique design that guarantees a flush.
We create automatic patio awnings door awnings window awnings and slide awnings.
Instruct your helper to lift the awning s arm to the preferred height.
For wall mount continue below.
The fabric should now be taught.
Identify the correct adjustment you don t want to make more work for yourself.
Then rotate the set of allen screws you have just exposed in step 3.
This unique retractable awning encloses the fabric into a powder coated extruded aluminum designer housing.
1 2 use 4 lag screw in top and bottom holes of bracket.
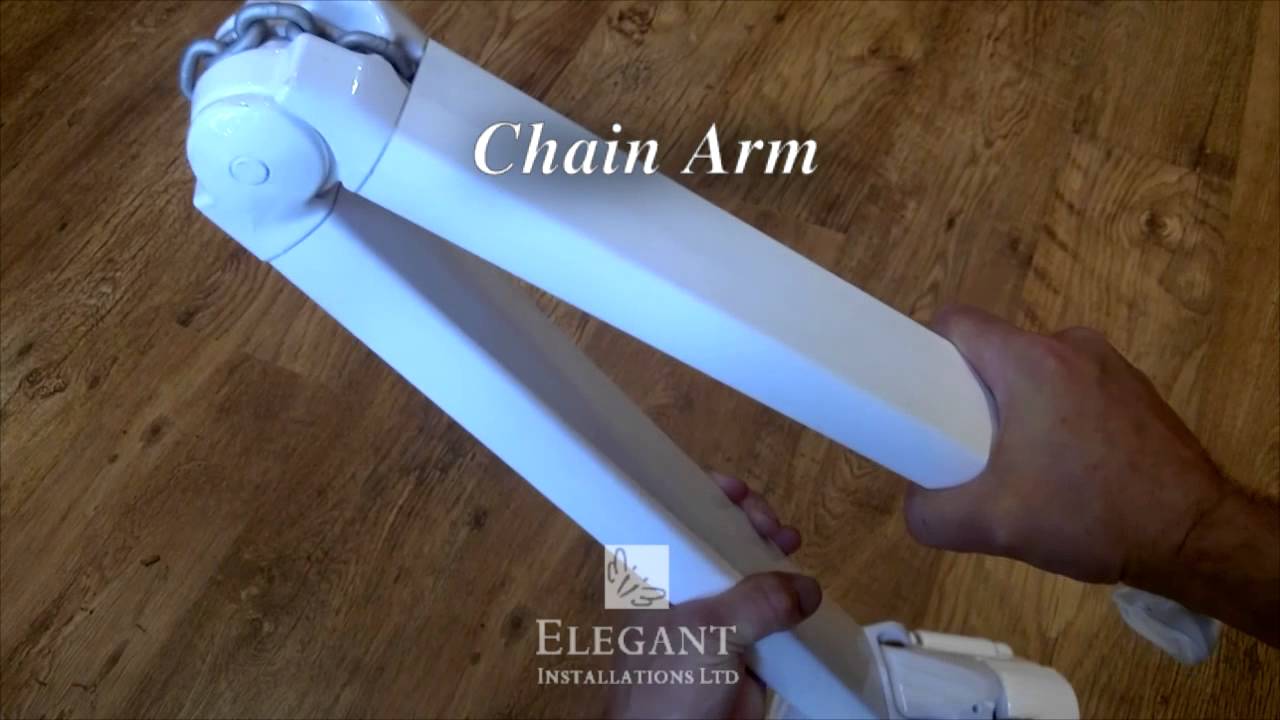
How to adjust awning arms www awningdepot co uk.
1 1 4 use 4 lag screw in top hole use 5 lag screw in bottom hole.
While standing in front of the awning pull the awning tube downward and toward yourself.
The elite cassette retractable awning is the complete awning.
Here are a few steps to consider when adjusting your retractable awning.
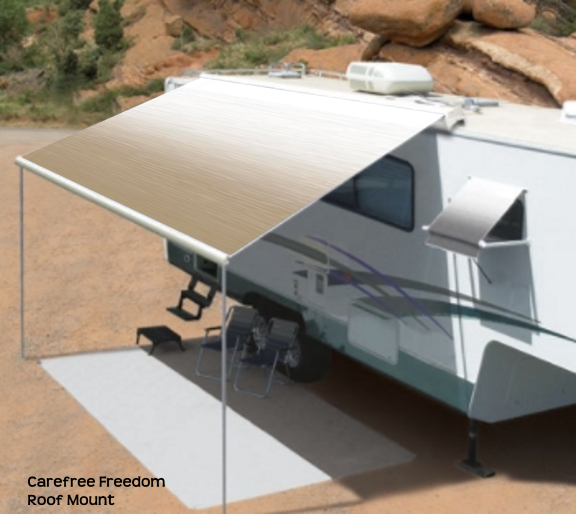
Featuring a premium heavy duty canopy and a one handed adjustable pitch projection the solera 12v power awning allows for simple effortless setup.
Using an awning stake.
Repeat this step with the other tensioning arm.
With your free hand tighten the knob on the upper tensioning arm.
The mounting height 9 ft is optimal is defined as one inch above the highest part of the wall bracket from the deck patio floor.